Descriptions can now be assigned to individual entries within a checklist.
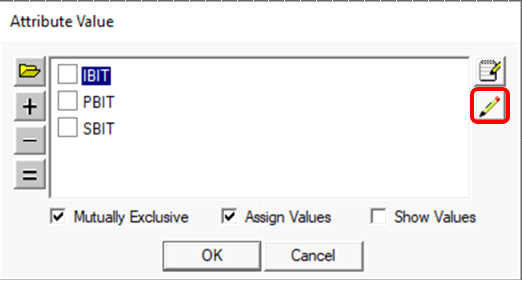
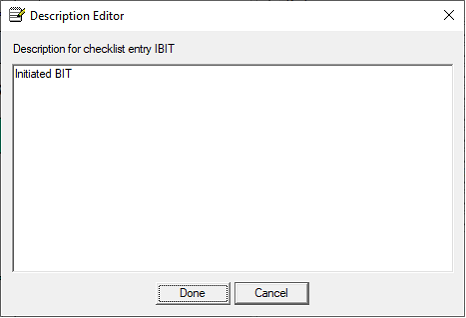
When you highlight a checklist entry on the Attribute Value definition panel (depicted at left), a new “notebook with pencil” icon appears on the right. Click on this icon and a new Description Editor dialog (shown below) will appear, allowing you to edit the description for that entry.
Note: If the “Assign Values” checkbox is enabled, the “pencil” icon—used for editing the value assigned to each entry—will appear just below the new icon when a checklist entry is highlighted.
Descriptions entered using the Description Editor will appear alongside that checklist entry in various areas of the software, as well as export as part of
that attribute’s definition in DiagML.
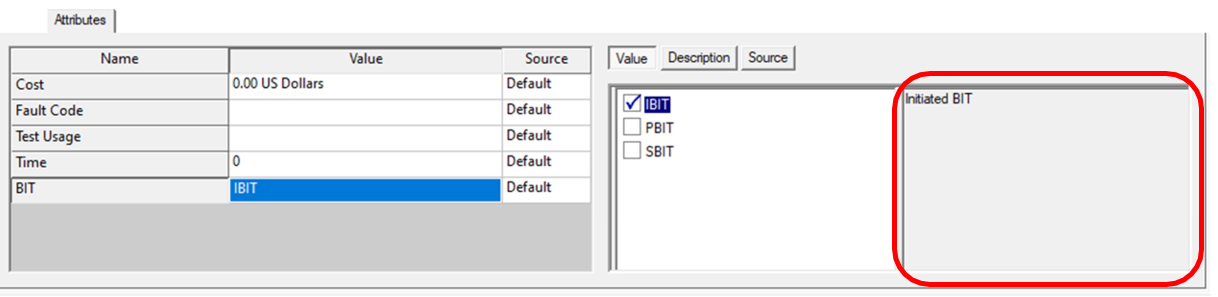
When you highlight an entry in a checklist on the Attributes panel, the assigned description will display to the right of the checklist:
D
These descriptions cannot be edited for individual attributes, however, since they are assigned to the attribute’s default definition.
A new “Checklist Attributes” line (shown at left) has been added to the bottom-left area of the Basic Design Statistics report.
When the design contains at least one checklist attribute, this line will be a hyperlink allowing you to generate the new Checklist Report. This report is generated as an RTF file by default; however, if you hold down the Shift key on the keyboard as you click on the hyperlink, an options dialog will appear allowing you to alternatively format the report into an Excel Spreadsheet (as depicted below) or save the report data in an XMLfile.
When values are assigned to the checklist’s entries, a column containing these values will be included and the table will be alphabetically sorted by value (in descending order). Otherwise, the Value column will be omitted and the table will be alphabetically sorted alphabetically.

 D
D
