Converting an object into a different type can be done for a single object or groups of objects. When converting the type for a group of objects, the steps are nearly the same as for single objects. eXpress will prompt only once for the entire batch of selected objects (the only exception to this being when converting to assemblies, where eXpress will display a file selection dialog for each object to be linked).
How to Convert Objects (using Design Window or Main toolbar Menu)
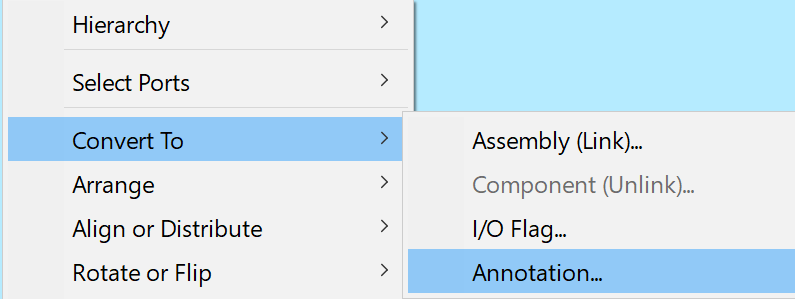
Right-click on one of the selected objects to display the pop-up context menu for objects.
Alternative:Select the Objects entry in the Design menu.
3
Choose the new type for the object from the Convert To submenu.
4
When converting an object into an assembly, a file selection dialog will appear. Use this dialog to select the desired lower-level eXpress design (.exd file) to which the assembly is to be linked.
Note: When converting a component with object state definitions into an assembly, a prompt will appear asking whether the object state definitions should be removed.
How to Convert Objects (using Context window Panel)
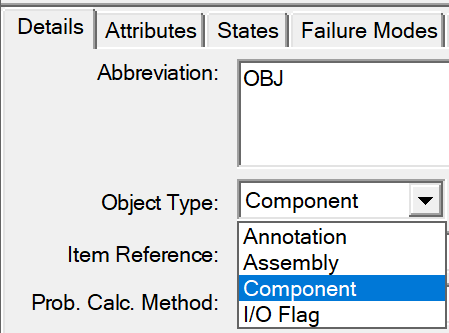
Choose the new object type from the Object Type drop-box on the Details panel (if one object is selected) or Object Batch Changes panel (if multiple objects are selected).
Note: For batch object changes, the Object Type checkbox must be enabled on the Object Batch Changes panel before the new type can be selected.
3
When converting an object into an assembly, a file selection dialog will appear. Use this dialog to select the desired lower-level eXpress design (.exd file) to which the assembly is to be linked.
Note: When converting a component with object state definitions into an assembly, a prompt will appear asking whether the object state definitions should be removed.