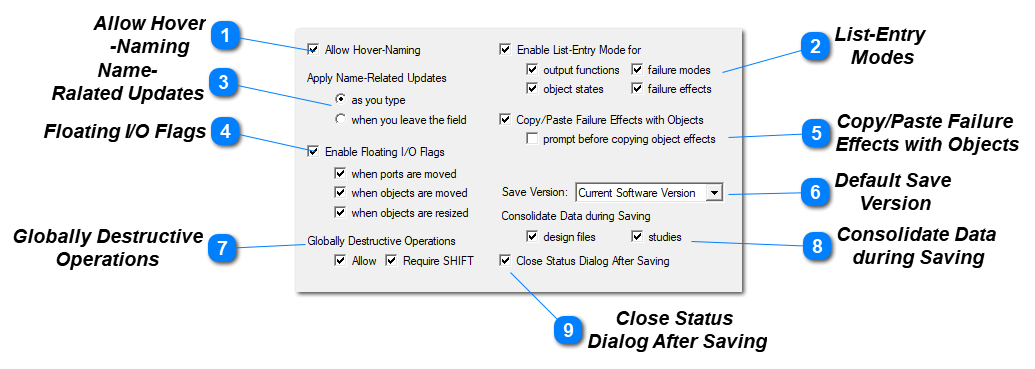
When using the Object replicate feature, the replicated objects can be named by hovering over each objec and using the keyboard to name the Object (No clicking to Select). This Option checkbox enables or disables this feature
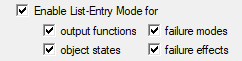
List-Entry
Modes
“List Entry Mode” settings have been added to the “Other Options” panel on the General Options dialog. These settings allow you to quickly enter lists of output function, object states, failure modes or failure effects on their respective entry panels. When these options are enabled, the “green asterisk” cell will be activated after each new entry has been completed (by clicking on the Enter key on the keyboard). This allows you to quickly enter lists of failure modes, functions, etc.—after which you can back up and review/edit the settings for each entry.
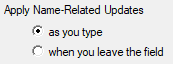
Name-
Ralated Updates
When you change the name of certain elements in an eXpress model, the change often triggers a variety of other updates—from changing the name in the Explorer tree to the re-propagation of net functions. When you are working in a small or medium-sized model, it is good that all this happens automatically(default); for larger models, however, these updates may take several seconds.
You don’t want eXpress to perform these updates for each keystroke when you are typing an element’s name…and sometimes you’ll want to perform several name changes at once and postpone the “triggered” updates until you are done. To support these different scenarios, eXpress now provides three different update modes. These check boxes selects which option the Analyst desires.
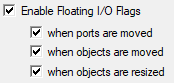
Floating I/O Flags
When an Object is moved that has a flag attached to a port on that object, if "Enable Floating I/O Flags" is checked the I/O Flag will move with the Object when the Object port, or Object is moved or the Object is resized.
Copy/Paste Failure
Effects with Objects
This option and it's prompt is important when many Items are to be copied (Example decoupling capacitors). Many designs have 100's of decoupling capcitors and this option allows the analyst to copy or replicate these and include the failure modes and effects. When this is done the item name on the replicated object failure mode and and object failure effect will not be incremented as the object name was so these should be corrected using Grid View or Excel to change the item name rapidly. See Replicating Objects
Default Save
Version
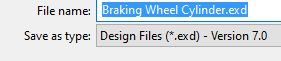
Window will show Version of Softrware being used to store model when selected. Here the model would be stored in Version 7.0 even though the version the Analyst is working in is 7.4 (window reads Current Software Version). Selecting in this window will save all models in version 7.0 until it is reversed. To save a model in 7.0 without using the General Option window use the "Save as" an specify 7.0 in the drop down window shown to the right below. This option is useful when when working with two Analysts using differnent versions to the software and need to share their models with each other.
Select Version to save model one time
Resulting Window for Save Version when model is opened
Globally Destructive
Operations
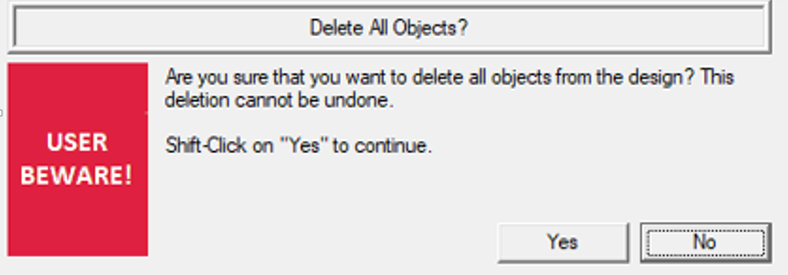
Globally destructive operations (such as those that delete all objects from a design or reset all dependencies) now display a red “User Beware” banner on the confirmation prompt and require that the Shift key on the keyboard be held down as you click on the “Yes” button.
This behavior can be customized on the “Other Options” panel of the General Options dialog, where the Analyst can select to allow Yes-clicking without the Shift key, or to disable globally destructive operations altogether.
Consolidate Data
during Saving
On the “Other Options” panel of the General Options dialog, you can now select whether or not eXpress design files and studies are consolidated as they are committed to disk (the final step of the saving process). Consolidation is always performed, by default. When a file takes a long time to save (e.g., when saving a large model to a slow-performing network drive) you can disable consolidation to speed up future saves. Although this can greatly reduce the time it takes to commit the file to storage, it will be at the expense of file size (the files will be somewhat larger— often twice the size of those for the consolidated model).
Close Status
Dialog After Saving
In previous releases of eXpress, the diagnostic processing status dialog would always disappear as soon as diagnostic processing finishes. This is the default behavior in this release as well. What is different is that the Analyst now has the option to keep this dialog showing when processing is finished. Also, when this setting is used, the dialog is given a time stamp showing when diagnostic processing finished). This feature is particularly useful for long, unattended runs of the diagnostics, where it is not always easy to determine when diagnostic processing actually finished.
To enable this feature, invoke the Diagnostic Options dialog (by right clicking on the Diagnostic Flow Diagram background and selecting “Options…” from the pop-up menu. On the Preferences panel of this dialog is a new checkbox option to “Close status dialog automatically after processing” (this option defaults to on). Disable this checkbox to leave the status dialog showing after diagnostics.